

Views: 0 Author: Site Editor Publish Time: 2025-12-02 Origin: Site


If you’ve ever wondered whether a cartoon digital camera can produce photos you’d actually want to keep, you’re not alone. Kids cameras are designed for fun first—big buttons, playful frames, and simple menus—but that doesn’t mean “decent photos” are impossible. This guide turns the question into a practical experiment: a camera challenge you can try at home, in a classroom, or on a family trip. You’ll learn what a cartoon digital camera can do well, where it struggles, and the simple techniques that dramatically improve results.
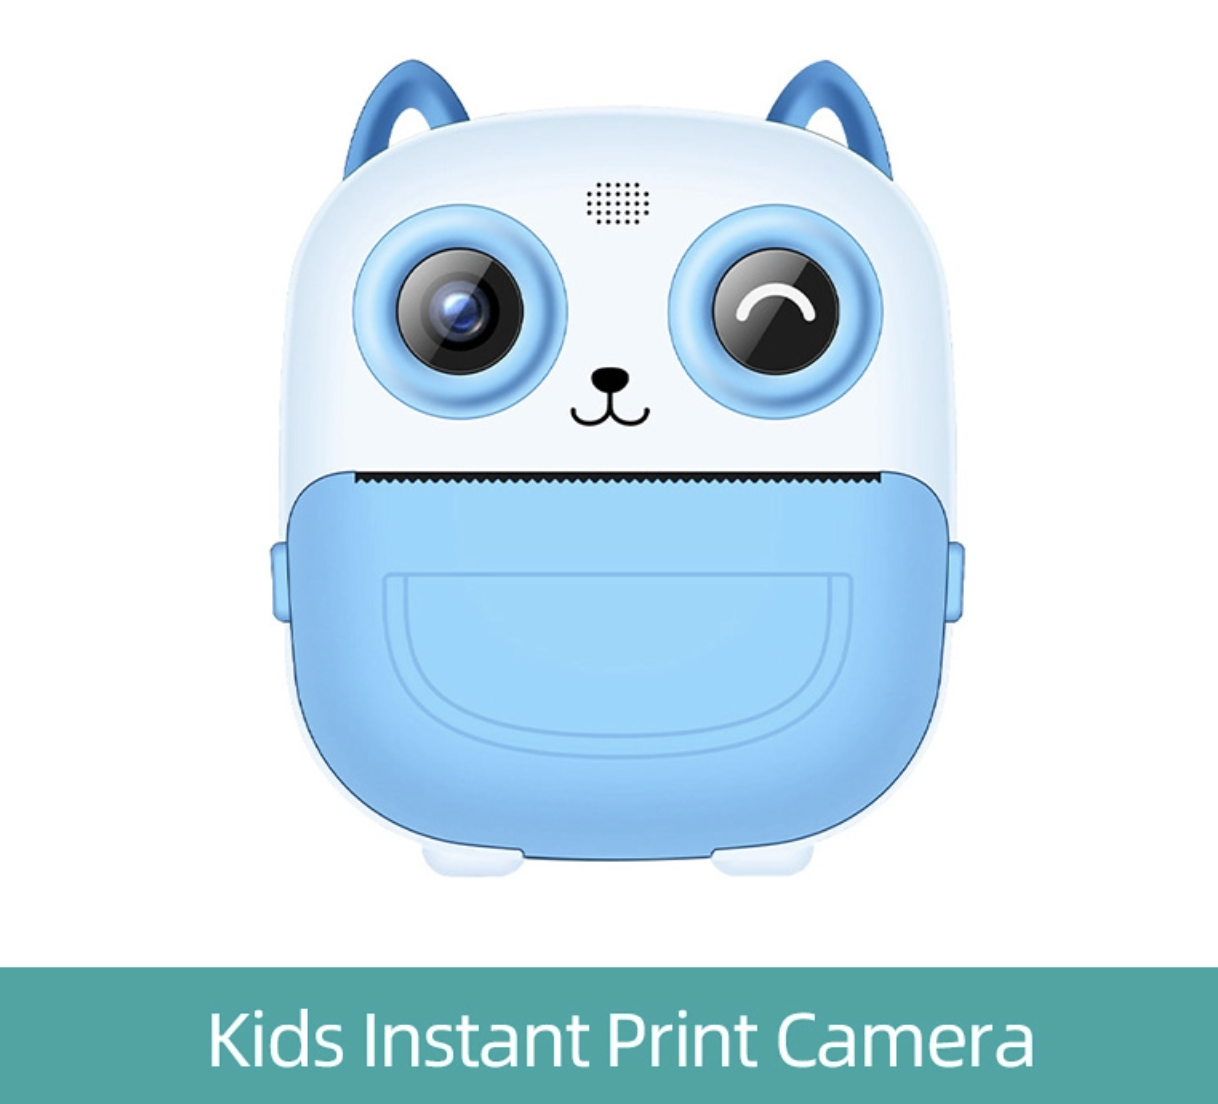
A cartoon digital camera is typically a kid-focused point-and-shoot with a playful design (often animal or character styling), simplified controls, and built-in filters or frames. The goal is confidence: kids can take photos without worrying about complicated settings.
The best part is that limitations can be creative fuel. When the camera doesn’t offer manual focus, advanced exposure control, or high dynamic range, you’re pushed to make smarter choices—better light, cleaner backgrounds, and stronger composition. That’s exactly why this challenge works: it’s not about “perfect,” it’s about “surprisingly good” with a simple tool.
Keep the rules easy so kids (and adults) can follow them without turning the activity into homework. Here’s a structure that works for ages 4–12 and still stays interesting for parents and teachers:
Rule 1: Use only the cartoon digital camera. No phone “backup shots.”
Rule 2: Pick one subject and one location. Example: “My plush toy on the couch” or “Leaves in the backyard.”
Rule 3: Set a time limit. 15 minutes for younger kids, 30 minutes for older kids.
Rule 4: Review together. Everyone chooses their top 3 photos and explains why.
This makes the experience feel like a game while still building real photography habits—especially the habit of reviewing and reflecting.
Most “bad” kids-camera photos aren’t caused by the camera alone—they’re caused by conditions that even expensive cameras dislike. Do these basics first:
Choose friendly light: bright shade outdoors, overcast skies, or indoor window light.
Avoid harsh midday sun: it creates blown highlights and deep shadows that toy sensors struggle to balance.
Keep backgrounds simple: busy patterns can look messy on lower-resolution images.
Stabilize: use a wrist strap, hold with two hands, and pause before pressing the shutter.
Prep the camera: charge it, clear storage, and confirm photo mode (not video) before starting.
Optional but helpful: bring a small prop (a toy, a snack, a colorful notebook) to keep your subject engaged.
“Decent” doesn’t mean “DSLR sharp.” It means the photo communicates something clearly and pleasantly. Use these criteria during review:
Readable exposure: the main subject isn’t too dark and the bright areas aren’t totally white.
Clear subject: viewers can instantly tell what the photo is about.
Clean framing: fewer accidental cut-offs (heads, hands, toys half missing).
Intentional choice: a frame or filter is used to support the story, not as random decoration.
When kids learn to judge photos with simple rules, their improvement accelerates—even if they use the same cartoon digital camera for months.
These techniques are designed for the typical limitations of a cartoon digital camera: fixed focus (or limited autofocus), smaller sensor, and basic exposure processing. They work fast and don’t require technical language.
Many kids cameras look best at short distances. Moving closer reduces the “pixelated far-away” look and makes the subject more obvious. Teach kids a simple habit: take one step closer, then shoot again.
If the camera can’t handle extreme contrast, help it by choosing softer lighting. Bright shade (under a tree, next to a building) is a cheat code. Indoor window light is another favorite: place the subject near the window and shoot from the side for gentle depth.
If the camera doesn’t offer reliable focus control, treat it like an old-school point-and-shoot. Don’t rely on zoom or tapping a screen. Instead: move closer or farther until the subject looks clearer, then take the shot. This “move your feet” mindset is a real photography skill, not a compromise.
On a small screen, it’s easy to include too much. Encourage a “one hero” rule: one main subject per photo. Then pick a background that supports it—solid wall, plain table, grass, sky, or a clean floor.
Motion blur ruins more kids-camera photos than anything else. Teach a tiny routine:
Two hands on the camera.
Elbows tucked in.
Small breath in, small breath out.
Press gently—don’t jab.
It takes 30 seconds to learn and can double the number of “keepers.”
Cartoon digital camera effects can be charming—if they match the story. For example, a playful border for a birthday cupcake, or a simple color filter for a “mood” shot. Challenge kids to choose one effect for the entire session so the photos feel like a set.
If you want structure without stress, use these prompts. They’re short, fun, and teach real skills:
Close-up portrait: face, toy, pet (if it holds still), or a favorite object.
Same subject, five angles: front, side, top-down, low angle, far-to-close.
Texture hunt: fabric, wood grain, bricks, leaves, sand.
Color mission: “Find three red things” and photograph them.
Window-light photo: subject near a window, shoot from the side.
Motion test: jumping, spinning, running—then review what worked.
Symmetry shot: doors, stairs, tiles, fences.
Story in three photos: beginning, middle, end (e.g., “snack time”).
Intentional filter: pick one effect and use it on purpose.
Happy accident: choose one “imperfect” photo that feels special anyway.
The review is where the “decent photos” happen next time. Keep it positive and specific:
Pick top 3: each person chooses their three favorites.
Say why: “I like this because…” (good light, funny moment, clear subject).
Swap picks: someone else selects your best photo and explains why.
One improvement goal: choose one thing for the next session (closer shots, steadier hands, simpler backgrounds).
For classes: print small thumbnails or show a simple slideshow and vote on “clearest subject,” “best story,” and “best angle.”
A cartoon digital camera can absolutely create joyful, meaningful photos—especially for kids. But it helps to be realistic.
Confidence and independence: kids can shoot without help.
Creativity boost: fun frames and filters encourage storytelling.
Low-pressure learning: mistakes feel like part of the game.
Great for challenges and classes: simple tools reduce tech distractions.
Limited detail at distance: far-away scenes can look soft or pixelated.
Struggles in low light: indoor darkness often creates blur or noise.
Limited dynamic range: bright skies and dark shadows can be hard to balance.
Less control: focus and exposure may be mostly automatic.
The takeaway: the camera has limits, but many “bad results” can be fixed with better light and better distance.
If you’re choosing a cartoon digital camera for a child, a classroom, or a gift, prioritize usability and durability over big spec numbers. Here’s what matters most:
Easy controls: large shutter button, simple mode switching, clear icons.
Comfort and safety: wrist strap or lanyard, rounded edges, lightweight body.
Battery and charging: predictable charging, decent battery life, easy cable.
Storage and transfer: simple file access, clear storage indicator, straightforward offload to computer/tablet.
Kid-friendly durability: bump-resistant shell and buttons that survive drops.
For photography classes or camps, consistency is a hidden superpower. Using the same model of cartoon digital camera across students makes teaching easier and reduces “my camera is different” frustration.
Photography challenges are fun, but protect kids and families:
Avoid location details: don’t share school names, uniforms, or street signs publicly.
Get consent before posting: especially for group photos.
Teach respectful photographing: ask before taking someone’s picture and respect “no.”
These habits are part of modern digital literacy—just as important as learning composition.
Yes—especially in good light and at closer distances. If you treat it like a simple point-and-shoot and use clean backgrounds, you can get surprisingly pleasing results.
Most cartoon digital cameras have limited resolution and processing compared to phones. Distant subjects become small details, and small details break down quickly. Moving closer helps more than almost any other tip.
Shoot in even light: bright shade outdoors or indoor window light. Avoid harsh midday sun and high-contrast scenes. If the sky is very bright, lower your angle so the camera sees less sky.
It can be excellent for beginners because the camera is simple and the focus stays on creativity. For teaching, structure matters more than specs: use prompts, time limits, and a positive review session.
A better camera helps, but the challenge shows how far fundamentals can take you. Light, distance, stability, and composition make a bigger difference than people expect—especially when you’re trying to get the most out of a cartoon digital camera.
So—can you take decent photos with a kids camera? If you follow the rules, choose friendly light, move closer, and keep the scene simple, the answer is often “yes.” Run the challenge once, save your top three images, then repeat it a week later with one improvement goal. You’ll see progress fast—and you’ll build real photography skills using nothing but a cartoon digital camera.


